It’s common nowadays to launch your product on Kickstarter or a Shopify store, but neither of those options were really around when I launched Po Campo in 2009. Getting our bags in physical stores was our main sales strategy when we were starting out.
That first summer, Po Campo was available in about a dozen stores in Chicago, which was a good start and we really have just built on that. One of the most common questions I get is “how do I get my product in stores?”. Well, this is how I did it!
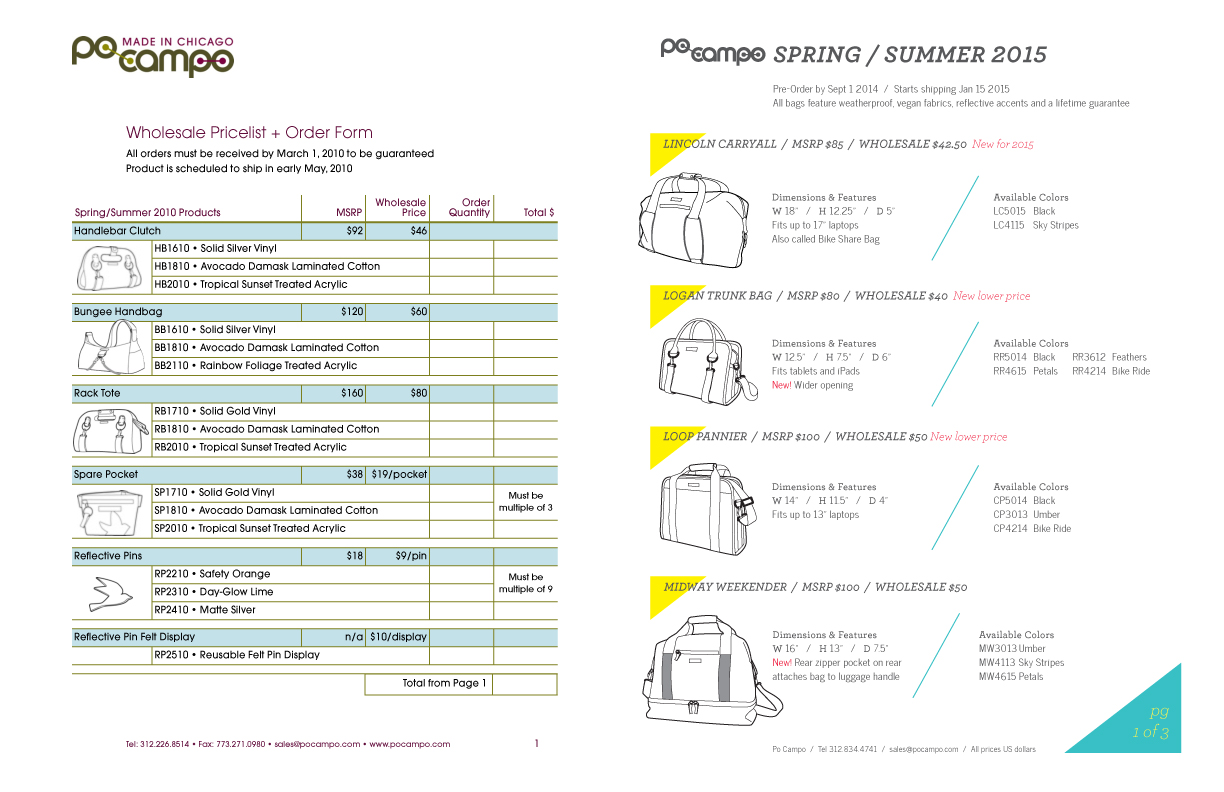
Step One: Make a List of Stores to Approach
I made a list of about 20 shops that I thought Po Campo would be a good fit in, based on where I and my friends liked to shop, since we were my intended consumer. I also thought about which brands were complementary to Po Campo, in terms of style and pricepoint, found out where they were locally being sold and added those stores to the list. Small, independent shops are much easier to cold-call and get into than larger chains, so start there.
Step Two: Research
Before you start walking into stores, do some research on how to build out your sales program with wholesale pricing, minimums and terms. To find this information out, I asked store owners and other product companies about what they do. I have found people to be very helpful and forthcoming with this information, so don’t feel weird about asking. Specifically:
- What is your wholesale price? This can vary by product category and industry. For bags like mine, the wholesale price is half of the retail price (this is called keystone).
- What is your minimum opening order? Is there a minimum reorder? This is usually based on a quantity (e.g. minimum of 10 pcs) or a dollar amount (e.g. minimum of $500). Based on my research, I chose to do a minimum starting order of 6 pieces, so enough to make a decent Po Campo display but not too much to make it seem like a big commitment for a small shop, who doesn’t want extra inventory lying around with no place to store it. We don’t have a reorder minimum because we want our retailers to feel free to place special orders for customers.
- What are your payment terms? The basic options here are:
- Due on receipt (pay right away). The faster you can get paid, the better. Our first orders were pretty small (less than $300), so most shops were okay with starting out this way. You can use Square or PayPal to take credit cards right away; the ease of credit cards more than makes up for the cut the credit card companies takes, in my opinion.
- Net 30 (pay in 30 days). This is pretty standard but I suggest doing a credit check before you give anyone product as it is practically impossible to get it back if they don’t pay. Old school credit checks require the store to first fill out a credit application, then you contact their references to see how good they are about paying on time. The process feels antiquated (although effective), so now Po Campo uses Cortera, which costs money but is quicker.
- Consignment (pay when the product sells). Small shops love this because it is essentially risk-free for them but that puts all the risk on you, plus it is a pain in the butt to manage. Therefore, I wouldn’t even offer this option and focus your attention on stores with enough cash to buy the product outright.
Step Three: Build Your Materials
Put together a (preferably one page) line sheet with:
- Product drawing or photo with item number, dimensions, brief description, color options (if any)
- Retail and wholesale price
- Minimum order amount
- Order deadline
I’ve found that it is immensely helpful to have a sample with you, even if it isn’t perfect. Samples about 90% of the way there are good enough.
A lookbook or catalog is nice but not necessary when you are just starting out. At this stage, you are the best representation of your brand. Introducing your product in person does more to sell your brand than a lookbook ever could.
Step Four: Start Selling
You’re ready to start going door-to-door! This is great practice for honing your pitch and learning how to clearly communicate the most interesting aspects of your product/brand. Practice makes perfect, so don’t be hard on yourself if your first visits are clunky. Here’s what I did:
- Find the owner/buyer and ask for a few minutes of her time, or schedule a time to come back. You’ll really only need 5-10 minutes.
- In a few (rehearsed) sentences, tell her about your brand and why you designed the product the way you did. Let her play around with the sample, answer her questions, go over the items on the line sheet.
- If she seems interested, ask for the sale by saying something like “Can I get an order going for you?”. It may seem a little confrontational, but trust me, it’s necessary. Few people will just say, “This is great, I’ll take 10!”.
- Leave your line sheet behind, maybe with your business card stapled to it, so she has a concrete memento of your visit. Get her email address and send her an email later that day to thank her for her time and to confirm her order or suggest an order based on what you talked about.
And if she says she’s not interested? You have to train yourself to hear “not yet” whenever you hear “no”. Jot down why she said no (might just be timing or wrong color) so you know when to go back to her in the future. Then move on to the next store on your list.
Okay, that’s it! In some ways it feels like a numbers game, in that you’ll get a new customer for every 4 qualified stores (or whatever) that you visit. Try to make your pitch a little better every time by listening to questions people have and noticing what they are responding to, both positively and negatively.
Good luck and share your experiences!